How to Draw The Grinch. How The Grinch Stole Christmas is a popular book by the legendary Dr. Seuss
Also, check our Unicorn Coloring Pages.
This classic children’s book has delighted young and old readers for decades and has enjoyed great popularity.
The Grinch himself has become an instantly recognizable iconic character worldwide, appearing in countless films, TV shows and even video games!
Moreso has become a symbol for grumpy people at Christmas, although he eventually comes to appreciate it.
If you love this classic story, this guide to drawing the Grinch will add festive fun to your day!
How to Draw The Grinch
Step 1
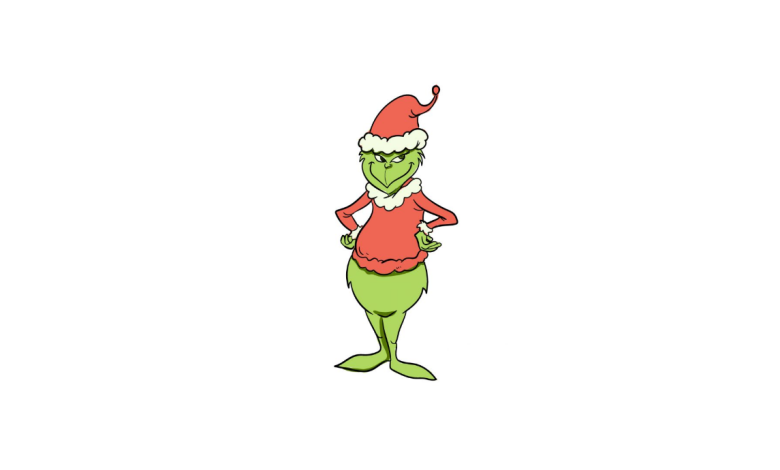
In this guide to drawing the Grinch, we show him in his classic Santa suit. The first item will be his Santa hat, so let’s get started!


To draw this hat, use an irregular, curvy line to create a thin oval that will form the fluffy base of her hat.
Then use a curved line going up from there to form the top of Santa’s hat.
Try to keep the top of the hat fairly thin as you draw, then add a small pompom at the end of the hat.
Step 2
You drew the hat, so now let’s start your Grinch drawing’s head. First, draw some hard, jagged lines at the corner of the hat’s base. This will show that some of his furs are sticking out of the hat.
Next, draw a curved line going inward from these tufts of fur, with a small gap between them at the end.
Step 3
Dr. Seuss has a very specific style, especially regarding faces. The Grinch’s face has some sharp lines and angles, and his eyes are tilted to give him a menacing expression.
His nose will be quite small with a line running down from it. Eventually, his mouth will go below this line and be a curved line with a sharp point in the middle.
Finally, you can draw a section under the neck that looks like the base of the hat. This forms a fluffy collar for the Grinch’s outfit.
Step 4
The Grinch always looks up to something, so we’ve got his arms by his sides to show it.
His arms will emerge straight from the collar and be drawn with curved and angular lines ending in his hands.
His belly is then drawn with a wavy line to give him some belly.
Step 5
We will draw a belt for the Grinch in this step of our How to Draw the Grinch guide.
They use a similar shape for the base of the hat and collar to give it a smooth look.
Once you’ve drawn this belt section, you can add lines on the arms and waist to add wrinkles to your dress.
Step 6
For the next aspect of your drawing of the Grinch, let’s draw his smooth hips.
These are drawn with curved lines from his waist and jagged lines to give a furry look.
Ensure you leave two small gaps near the bottom when we draw the legs in the next step!
Step 7
Step 7 of our How to Draw the Grinch guide is all about adding the paws before proceeding with the coloring!
His legs are quite short compared to the rest of the body, and as you can see in the reference image, they are made up of two sections.
You can use curved lines from her hips down to create the tops of her legs. Then you can pull her big flat feet under some ankles.
With your legs tucked in, you’re ready for the next step! Before proceeding, however, draw all the details you want.
You could draw a beautiful background from your favorite scene in the book or draw her little dog!
The Grinch has a distinctive light green color scheme, with yellow for the eyes and some red for the Santa suit.
If you stick with their traditional color scheme, I will use some acrylic paint or colored markers to highlight their colors!
Step 8
This brings us to the final stages of your drawing of the Grinch! Now you can have a lot of fun coloring your cool picture.
The Grinch has a distinctive light green color scheme, with yellow for the eyes and some red for the Santa suit.
If you stick with their traditional color scheme, I will use some acrylic paint or colored markers to highlight their colors!
However, this is only one possibility, and you can also use more muted colors and media for your drawing.
Your Grinch Drawing is Finished!